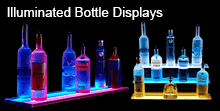
How to Build an Illuminated Bottle Display
08/19/2016
Introduction
Do you want to add life to your home bar? Do you want to dazzle your guests and make the wine selection instantly visible? An illuminated bottle display will do this and even more. It works not only for a bar but also for a home study. Illuminated bottle stands can be quite expensive. 2-feet ones cost well over one hundred dollars. Should you want a bigger shelf, you will have to part with more than one hundred dollars. Why not make one yourself? A do-it-yourself display will be cheaper to build. You get to dazzle your guests even more when you tell them that you built it yourself. You can also build one that matches your home décor and space. You also get to choose the kind of lights you want, the number of shelves, even the type of materials to use. Below we share easy-to-follow steps of building an illuminated bottle display.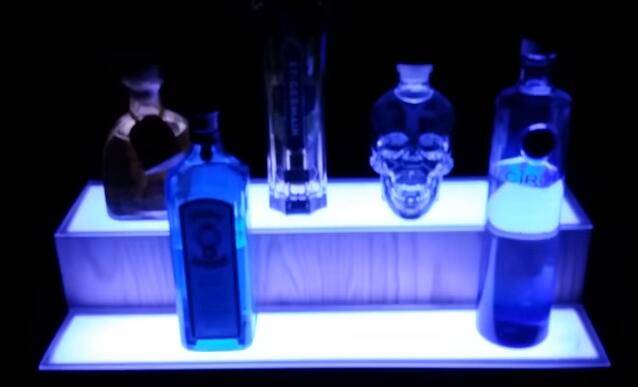 Tools and Materials to use.
1. Two pieces of heavy pine wood (one by four)one inch or any wood type of your choice
2. Sanded panels
3. Brackets
4. Railings
5. Screws
6. Wood glue
7. Tung N Teak Danish oil
8. LED 1/4 inch lights
9. Clamps
10. Screwdriver/Drill
11. Stud finder
12. Paint
13. Painting brush and tape
14. Nails
15. Liquor/Wine bottles
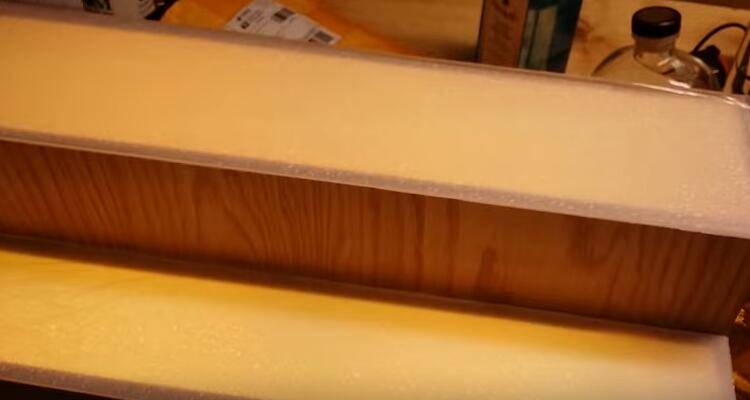
Step 1: Making the shelf
Decide on the size and width of your shelf before you embark on the construction.
Take the pieces of pine wood and cut it up into the following sizes;
1. Two pieces of one by two by one inch
2. Two pieces of half by four by half inch
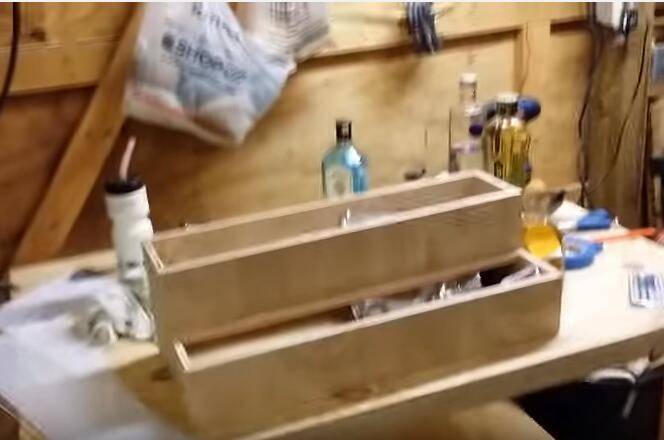
Place the longer pieces of wood on the side and the two shorter ones between the two to make a frame. Screw them together using the screwdriver and screws.
Then attach the sanded panels to the frame. Attach one panel above the shorter wood in the midsection of the frame and another below it using glue or nails. Do this for all the short pieces of wood in the midsection of the frame. If done correctly, this step will ensure that your shelves are very strong. Make sure you choose sturdy wood because bottles can be very heavy. You don’t want your shelf to break up because of the weight, do you?
The shelf is now almost done. Drill holes on it for attaching the rails. Use the screws to fasten the railing. Make other shelves using the same method if you want to create a tiered display. The number of shelves that you make will depend on how make bottles you want your illuminated bottle display to have.
 Step 2: Attaching the lights and the shelves to the wall
Before you place brackets, ensure there are electric cables at the area where the shelf will be. If there are no cables, measure out an area for the cables, drill holes in the wall and place the cables. Cover the area to hide the cables. Ideally, cables should run to a power supply and to a switch where you will turn the lights on or off from. The other alternative is to have cables that have a plug that can be directed into a socket. The second alternative is easier but will look messier since cables will be visible. Work with an electrician to make this connection if you don’t know how to do this.
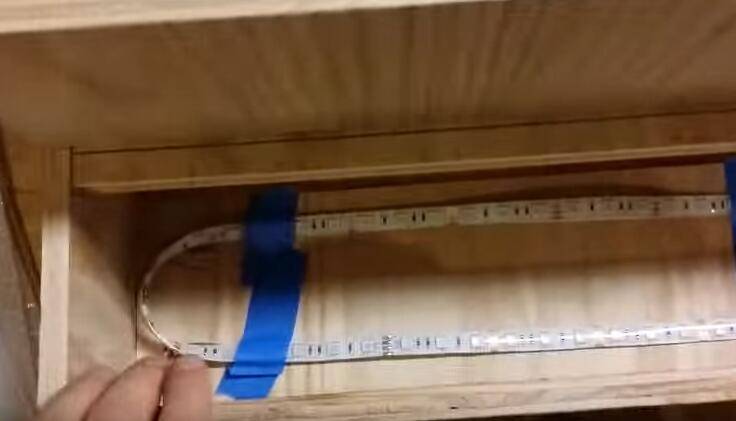 Measure out the distance between each piece of metal that project from the railing. For accuracy, you can use the stud finder. Screw some of the studs to make the shelf more sturdy and able to withstand a lot of weight. Make marks on the areas with studs. The distance between the studs is the same distance you will put between brackets. Drill holes on the wall where you will attach the brackets. Now attach the brackets at the wall above each marking in the specific holes.
 Now that the brackets are in place, drill holes to the wall and attach the shelf using screws. Make sure the shelf is tightly fastened with the screws. The shelf should be placed on the bracket position but at eye level so that it looks more attractive when you walk into the room. You can place the shelf above the bracket so that the light illuminates the lower shelf if your shelves are tiered. LED lamps can be used to give light of different colours.
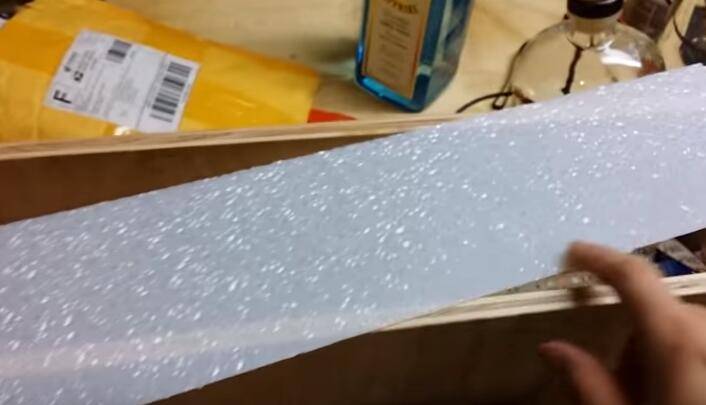
Step 3: Finishing touches
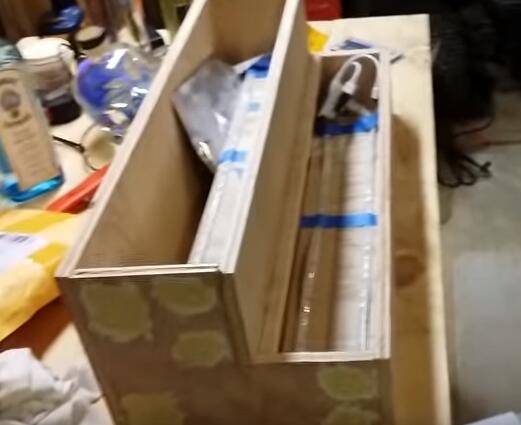
Finishing touches will affect the overall image of the display. Do not ignore this step. Remove any wood chippings lying on the shelf as well as any other residue. Sand all the surfaces using sandpaper (120-grit is the most ideal) if you had not done this before.
Apply a coat of Tung N Teak Danish Oil to give the shelf a finished look. Alternatively, you could prime and paint to the colour of your choice. Don’t forget to tape the area you want to paint to give a clean look. Let the shelf dry.
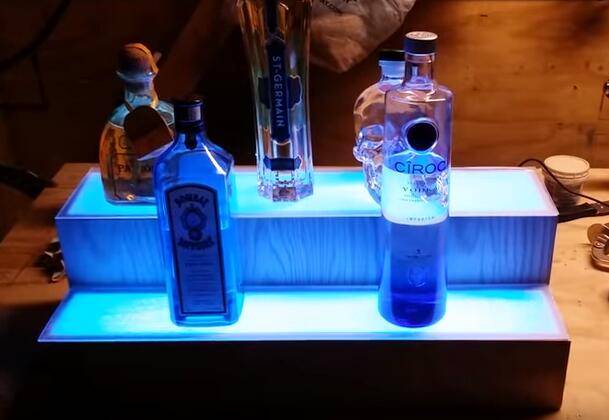
Step 4: Set up your display
Now that the shelf is dry and looking good, it is time to set up the display. Determine which bottles you want to display. Select them and start arranging on the shelf.
The tallest should be at the back. Those of medium-height take the centre while the short ones come to the front. Do this on all the shelves, starting from the lowest shelf to the one on top.
You can also use the cheaper to the most expensive approach especially if you are displaying liquor for sale. In this approach, cheapest liquor is put on the lowest shelves while the most expensive goes to the top shelf. Customers are attracted to the top shelf display thus may order these expensive ones first.
A different approach would be to arrange them according to brand so that similar brands stay together on one shelf for easy retrieval.
You can also put similar coloured bottles together for spectacular effects. Whatever arrangement pleases you, go for it.
Now turn on the light. Enjoy your illuminated bottle display.
Conclusion
Illuminated bottle displays are an aesthetically pleasing and fun way to bring life to any kind of bottle arrangement. Making this kind of display shouldn’t be too hard if you follow these steps correctly.

If you would like a quotation or further information on this product, please
contact us and we will reply to you within 1 working day.

Users Who Viewed Items In Your Recent History Also Viewed